
Tea Party Invitations
The Making of…
 My theme for this party was a (somewhat) British Afternoon
Tea and the colors were spring based with purple, green, and yellow. I wanted
the invitations to reflect all of that!
My theme for this party was a (somewhat) British Afternoon
Tea and the colors were spring based with purple, green, and yellow. I wanted
the invitations to reflect all of that!
1. I went to PaperSource and bought a pack of green envelopes,
purple premade folded cards, and a giant piece of yellow flowery paper. I think
it all cost a total of $15. So, I could have bought premade cards for the same
price but then I wouldn’t have a fun project!

I’ve really been into making silhouettes lately so my idea
was to put teapot silhouettes on the cards.
2. I used a picture of a teapot to make my template, which
would fit appropriately on the purple card. Then cut the yellow paper into pieces
the right size for making the teapots.


4. Then, using an exacto-knife, cut out the middle part of the
teapot handle.

5. Paste all the teapots onto the purple cards. I jazzed up the
purple cards a bit by cutting a wave into the bottom of the card. This would be
easier with those shaped scissors but it wasn’t time consuming with regular
scissors either.
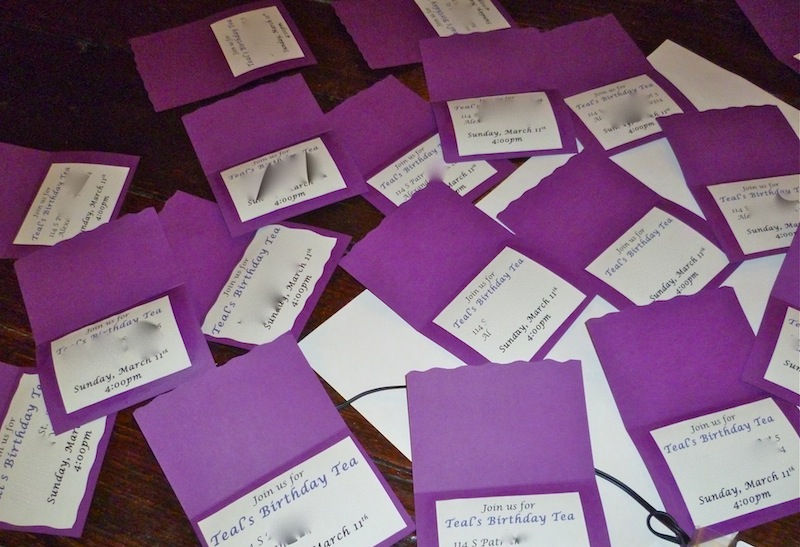
6. On the inside of the card I choose to print out the actual invitation with day, date, time, etc on my computer then print and paste it into the card. This should have been faster than handwriting it all but I had a hard time not being OCD about the look of the printed invitation and it ended up being the most time consuming part.

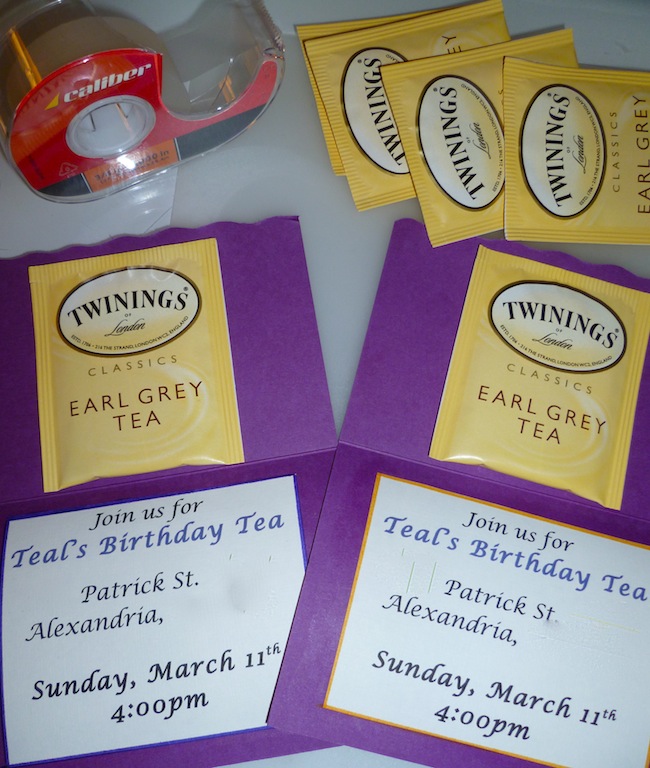
Despite all the steps, and dependant on the number of
invitations being made, these invitations only would have taken an hour or
so…but I did this between doing a bunch of other stuff so it took me longer.
 The final result is a totally customizable and unique card. You
could make any silhouette from flowers to faces and the color scheme is easily
changeable. Include a sweet touch like a seed packet for a garden party or a
rice sachet for a wedding invitation and take the invitation up one more notch!
The final result is a totally customizable and unique card. You
could make any silhouette from flowers to faces and the color scheme is easily
changeable. Include a sweet touch like a seed packet for a garden party or a
rice sachet for a wedding invitation and take the invitation up one more notch!
I had a lot of fun making these invitations and look forward
to another invitation project!

Check out my Instructable!


